Make your own horse and embark on an extraordinary journey of creativity and craftsmanship. From gathering materials to adding the finishing touches, this comprehensive guide will empower you to bring your equine vision to life.
Immerse yourself in the intricacies of horse anatomy, explore customization options, and discover the secrets of creating a stunning display that will captivate all who behold it.
Materials and Tools
Crafting a horse requires a range of materials and tools. For the body, you will need materials such as wood, metal, or clay. For the details, you will need materials like leather, fabric, and paint. Essential tools include saws, hammers, pliers, and sculpting tools.
Each tool has its specific function in shaping and assembling the horse.
Design and Planning
Before beginning construction, it is crucial to design the horse. Sketch out a plan that includes the dimensions, proportions, and overall shape. Consider the breed, posture, and any specific details you want to incorporate. A detailed plan will guide you throughout the crafting process and ensure a cohesive final product.
Body Structure
Start by creating the frame of the horse’s body. Cut and shape the wood or metal pieces according to your plan. Assemble the body parts using glue, nails, or screws. Ensure that the joints are secure and the overall structure is stable.
Head and Neck
To shape the head, carve or mold the material into the desired form. Pay attention to the proportions and details, such as the eyes, nostrils, and mouth. Attach the head to the body securely. Create the neck by shaping a cylindrical piece of material and connecting it to the head and body.
Legs and Hooves

Craft the legs by shaping four identical pieces of material. Taper the ends to form the hooves. Attach the legs to the body using hinges or other mechanisms to allow for movement. Ensure that the legs are securely attached and can support the weight of the horse.
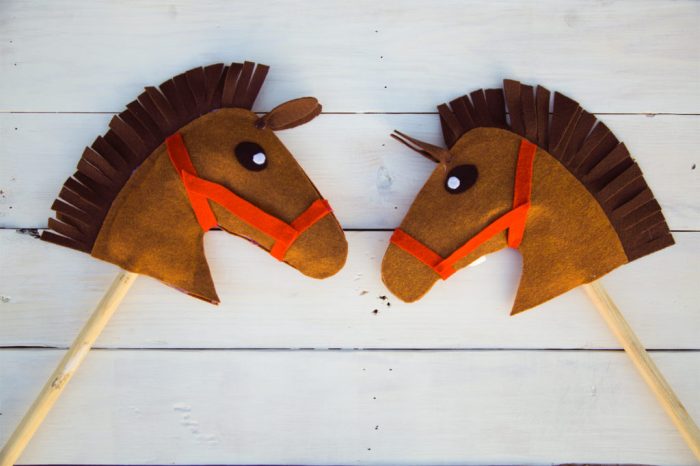
Mane and Tail: Make Your Own Horse
Create the mane and tail using materials such as yarn, fabric, or horsehair. Attach the mane to the back of the neck and the tail to the base of the body. Style the mane and tail as desired, using techniques such as braiding or weaving.
Finishing and Details
Add finishing touches to bring your horse to life. Paint or stain the body and add details such as eyes, nostrils, and markings. Consider adding a saddle, bridle, or other accessories to enhance the realism of your creation.
Customization and Variations
The possibilities for customizing your horse are endless. You can create different breeds, such as thoroughbreds, quarter horses, or Clydesdales. Experiment with different postures, such as standing, galloping, or jumping. Add unique markings or accessories to make your horse truly one-of-a-kind.
Display and Presentation
Once your horse is complete, find the perfect way to display it. Create a diorama or scene that complements the horse’s design. Consider lighting, background, and other elements to enhance the overall presentation and bring your equine creation to life.
Question Bank
What materials do I need to make my own horse?
The necessary materials include wood, clay, fabric, paint, and tools such as saws, brushes, and sculpting tools.
How long does it take to make a horse?
The time required varies depending on the size, complexity, and materials used, but it typically takes several days to weeks.
Can I sell horses that I make?
Yes, you can sell your handmade horses, but it’s important to ensure they meet safety regulations and are marketed appropriately.