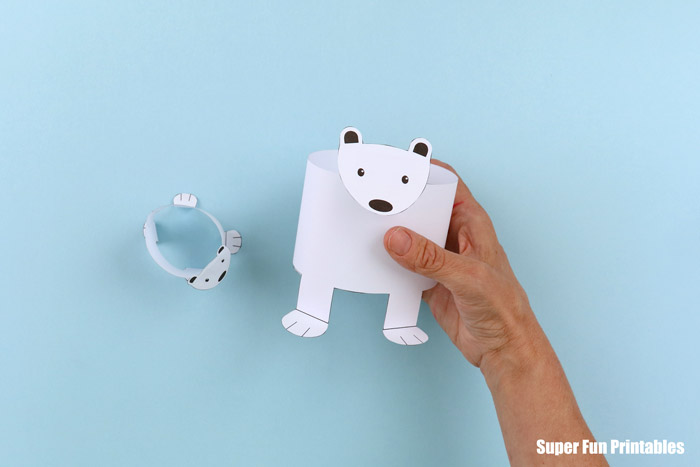
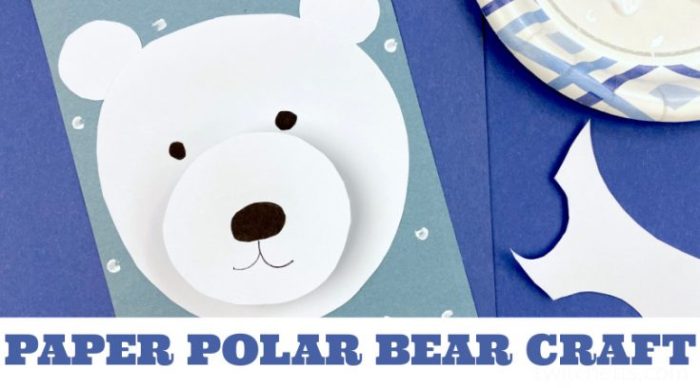
How to make a polar bear – Immerse yourself in the captivating world of polar bear creation with our comprehensive guide. From materials and design to finishing touches, we’ll guide you through every step, empowering you to bring these magnificent creatures to life.
Unleash your creativity and embark on an extraordinary journey as we delve into the art of making polar bears.
How to Make a Polar Bear
Crafting a polar bear is a creative and rewarding endeavor that brings joy and a touch of the Arctic wilderness into your home. Whether you’re a seasoned crafter or just starting out, this guide will provide you with the knowledge and inspiration you need to create your own adorable polar bear.
Materials and Equipment
To embark on this crafting adventure, you will need the following materials and equipment:
- White felt (at least 12×12 inches)
- Black felt (small amount for eyes and nose)
- Pink felt (small amount for inner ears)
- Polyester fiberfill
- Sewing needle and thread (black and white)
- Scissors
- Fabric glue (optional)
- Safety eyes (optional)
Design and Planning

Before you begin sewing, it’s helpful to plan the design and size of your polar bear. Consider the following factors:
- The size of the polar bear you want to make
- The shape and style of the polar bear (realistic, cartoonish, etc.)
- The details you want to include (eyes, nose, mouth, etc.)
Assembly and Construction

- Cut out the body:Cut two identical pieces of white felt in the shape of a polar bear’s body.
- Sew the body:Place the two pieces of felt together, right sides facing, and sew around the edges, leaving a small opening for stuffing.
- Stuff the body:Turn the body right side out and stuff it firmly with polyester fiberfill.
- Sew the opening:Hand-sew the opening closed using black thread.
- Create the head:Cut out two circles of white felt for the head. Sew them together, leaving a small opening at the bottom for stuffing.
- Stuff the head:Turn the head right side out and stuff it lightly with fiberfill.
- Sew the head to the body:Sew the head to the body using black thread.
- Create the ears:Cut out two small ovals of white felt for the ears. Sew them together, leaving a small opening at the bottom.
- Stuff the ears:Turn the ears right side out and stuff them lightly with fiberfill.
- Sew the ears to the head:Sew the ears to the head using black thread.
- Create the eyes:If using safety eyes, attach them to the head using fabric glue or thread. If not, cut out two small circles of black felt for the eyes and sew them on.
- Create the nose:Cut out a small triangle of black felt for the nose and sew it to the head.
- Create the mouth:Embroider a small black line for the mouth.
Finishing and Details
To complete your polar bear, you can add additional details to enhance its realism and cuteness:
- Fur:You can add fur to your polar bear by cutting small pieces of white felt and gluing them to the body.
- Whiskers:Create whiskers by cutting thin pieces of black felt and gluing them to the face.
- Claws:You can add claws to your polar bear by cutting small triangles of black felt and gluing them to the paws.
Display and Presentation
Once your polar bear is complete, you can display it in a variety of ways to showcase its charm:
- On a shelf:Place your polar bear on a shelf or mantlepiece to add a touch of Arctic magic to your home.
- In a basket:Create a cozy nest for your polar bear in a basket lined with soft fabric.
- As a decoration:Use your polar bear as a festive decoration for Christmas or winter holidays.
Variations and Adaptations

There are endless variations and adaptations you can make to your polar bear:
- Size:You can make your polar bear in any size, from a tiny keychain to a large stuffed animal.
- Style:You can choose to make a realistic polar bear or a more stylized and cartoonish version.
- Materials:You can use different materials for your polar bear, such as faux fur, fleece, or even paper.
Safety Considerations
When making a polar bear, it’s important to consider the following safety precautions:
- Sharp objects:Be careful when using scissors and needles.
- Small parts:If you’re using small parts, such as safety eyes, keep them out of reach of children.
- Allergens:If you have allergies to certain materials, such as wool or polyester, be sure to use alternative materials.
Tips and Tricks, How to make a polar bear
- Use a template:If you’re not confident in your freehand drawing skills, you can find templates for polar bears online or in craft books.
- Take your time:Don’t rush the process. Enjoy the experience of creating your polar bear.
- Experiment:Don’t be afraid to experiment with different materials and techniques to create your own unique polar bear.
Inspiration and Examples
For inspiration, you can find countless examples of polar bears made by other crafters online. Visit websites like Pinterest, Etsy, and DeviantArt to see different designs and techniques.
Questions Often Asked: How To Make A Polar Bear
What materials are essential for making a polar bear?
Paper mache, white paint, black paint, glue, and a paintbrush are the key materials.
How do I achieve the realistic fur texture on my polar bear?
Apply white paint with a sponge to create a textured effect resembling fur.
What techniques can I use to create the desired shape and size?
Mold the paper mache mixture into the desired shape and use a ruler or measuring tape to ensure accurate sizing.
