How to make a mario hat – Discover the art of crafting your very own Mario hat, an iconic symbol of the beloved video game character. Whether you’re a seasoned crafter or a novice seeking a fun and rewarding project, this comprehensive guide will lead you through every step of the process, from gathering materials to adding the finishing touches.
Delve into the intricacies of fabric selection, pattern design, and sewing techniques, ensuring a sturdy and stylish hat that will turn heads at your next cosplay event or costume party.
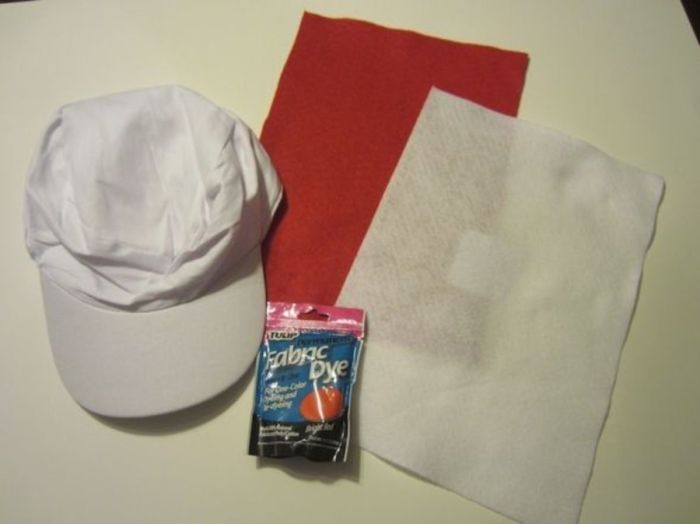
Materials and Supplies
To make a Mario hat, you will need the following materials and tools:
- Red fabric (at least 1/2 yard)
- White felt (small piece)
- Blue fabric (small piece)
- Yellow felt (small piece)
- Sewing machine
- Thread (red, white, blue, yellow)
- Scissors
- Measuring tape or ruler
- Iron and ironing board
Pattern Design
The Mario hat has a basic round shape with a brim. To create a pattern, you can use a template or draft your own.
To create a template, you can use a large bowl or plate to trace a circle. The diameter of the circle will determine the size of the hat. For a child’s hat, a circle with a diameter of about 12 inches will be sufficient.
For an adult hat, a circle with a diameter of about 14 inches will be better.
Once you have traced the circle, add a brim to the bottom of the circle. The brim should be about 2 inches wide. You can also add a small point to the top of the circle to create the Mario hat’s signature “M” shape.
Fabric Cutting and Preparation

Once you have your pattern, you can cut out the fabric pieces. Cut two circles from the red fabric, one circle from the white felt, one circle from the blue fabric, and one “M” shape from the yellow felt.
Before you sew the fabric pieces together, you need to prepare them. Iron the red fabric to remove any wrinkles. Fold the white felt circle in half and iron it to create a crease. Fold the blue fabric circle in half and iron it to create a crease.
Fold the yellow felt “M” shape in half and iron it to create a crease.
Sewing the Hat Body
Now you can start sewing the hat body. Place the two red fabric circles right sides together and sew around the edge, leaving a small opening for turning. Turn the hat body right side out and press the seam. Topstitch around the edge of the hat body to secure the seam.
Next, sew the white felt circle to the top of the hat body. Center the white felt circle on the top of the hat body and sew around the edge. Press the seam.
Then, sew the blue fabric circle to the bottom of the hat body. Center the blue fabric circle on the bottom of the hat body and sew around the edge. Press the seam.
Creating the Brim

To create the brim, you will need to use interfacing or stiffening material. Cut a circle of interfacing or stiffening material that is the same size as the brim of the hat. Place the interfacing or stiffening material between the two layers of red fabric and sew around the edge.
Press the seam.
Once the brim is attached, you can sew the two layers of red fabric together around the edge of the brim. Press the seam.
Adding the Embellishments
Now you can add the iconic Mario “M” emblem to the hat. Place the yellow felt “M” shape on the front of the hat and sew it in place. You can also add other decorative elements, such as buttons or appliqués.
Finishing Touches: How To Make A Mario Hat
To finish the hat, press the entire hat to remove any wrinkles. Trim any loose threads. You can also add a lining to the hat for a more polished look.
Question Bank
What type of fabric is best for making a Mario hat?
A medium-weight cotton twill or canvas is recommended for its durability and ability to hold its shape.
How do I create a pattern for the Mario hat?
You can find free printable patterns online or draft your own using the measurements provided in the guide.
What is the best way to attach the brim to the hat body?
Use a combination of hand-sewing and machine-sewing to ensure a secure and lasting bond.