How to make a korok mask – In the realm of crafting, the enigmatic Korok mask beckons us to embark on a journey of creativity and imagination. As we delve into the art of creating our very own Korok mask, let us embrace the spirit of these playful forest dwellers and unleash our inner artisans.
Throughout this comprehensive guide, we will explore the essential materials and tools required, unravel the intricacies of preparation and design, and guide you step-by-step through the crafting process. Along the way, we will uncover techniques for adding finishing touches and embellishments, ensuring that your Korok mask becomes a true masterpiece.
Materials and Supplies
Crafting a Korok mask requires gathering essential materials and tools. Here’s a comprehensive list with detailed descriptions:
- Cardboard:Thick and durable cardboard serves as the base for the mask’s structure.
- Craft Knife:A sharp craft knife is crucial for precise cutting and shaping.
- Scissors:Scissors are essential for trimming and shaping the cardboard.
- Hot Glue Gun:A hot glue gun is ideal for securely bonding the cardboard pieces.
- Paint:Acrylic or latex paint in green and brown shades is used to create the Korok’s distinctive colors.
- Paintbrushes:A variety of paintbrushes are necessary for applying the paint and creating details.
- Modeling Clay:Soft modeling clay is used to sculpt the mask’s facial features and details.
- Sandpaper:Sandpaper is used to smooth and refine the clay and paint finishes.
- Embellishments:Optional embellishments such as feathers, leaves, or beads can enhance the mask’s authenticity.
Preparation and Design

Before constructing the mask, it’s essential to prepare the materials and consider the design aspects:
Preparing the Materials:Cut the cardboard into the desired shape and size for the mask’s base. Trace and cut out the mask’s eye and mouth openings.
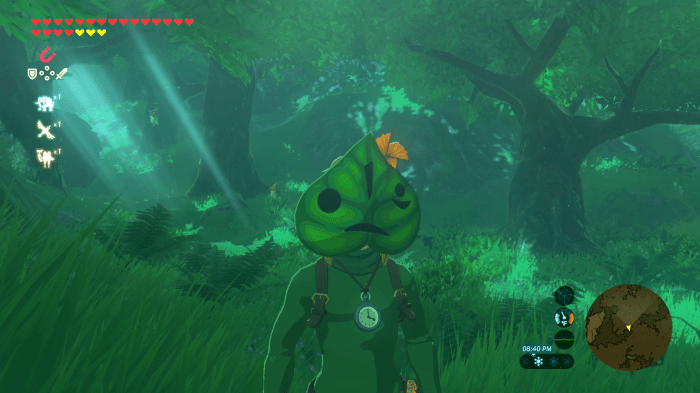
Design Considerations:Study reference images of Korok masks to capture their unique features. Consider the size, shape, and details of the mask to achieve a realistic appearance.
Crafting the Mask

Follow these step-by-step instructions to construct the Korok mask:
Step 1: Shaping the Base
Use the craft knife to shape the cardboard base according to the desired design. Glue the cardboard pieces together to form the mask’s structure.
Step 2: Sculpting the Features
Apply modeling clay to the mask’s base to sculpt the facial features, such as the eyes, nose, and mouth. Use a variety of tools to shape and texture the clay.
Step 3: Sanding and Smoothing
Sand the clay to smooth the surfaces and refine the details. Sand the paint to create a smooth and even finish.
Step 4: Painting and Detailing
Paint the mask in green and brown shades to match the Korok’s colors. Use paintbrushes to create details and highlights. Add embellishments such as feathers or leaves to enhance the mask’s authenticity.
Step 5: Assembly
Assemble the mask by attaching the sculpted features to the painted base. Use hot glue or other adhesives to secure the pieces.
Finishing Touches
Add the finishing touches to enhance the mask’s realism and durability:
Weathering:Apply a thin layer of acrylic paint or stain to give the mask an aged and weathered appearance.
Embellishments:Add optional embellishments such as feathers, leaves, or beads to enhance the mask’s authenticity.
Sealing:Apply a clear sealant to protect the paint and embellishments from damage.
Wearing and Displaying: How To Make A Korok Mask
Here are some tips on how to wear and display the finished Korok mask:
Wearing:Attach an elastic band or ribbon to the inside of the mask for comfortable wearing.
Displaying:Mount the mask on a wall or display stand to showcase its intricate details and craftsmanship.
Storage:Store the mask in a cool, dry place to prevent damage and preserve its longevity.
Answers to Common Questions
What materials do I need to make a Korok mask?
You will need materials such as foam, clay, paint, glue, and other basic crafting supplies.
How difficult is it to make a Korok mask?
The difficulty level depends on your crafting experience and the desired level of detail. With patience and attention to the guide, beginners can achieve great results.
Can I wear my Korok mask for cosplay?
Yes, with proper construction and materials, your Korok mask can be suitable for cosplay.